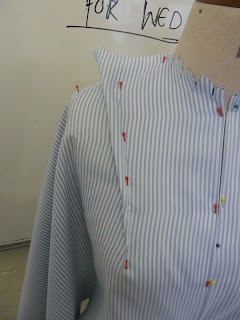
In our pattern cutting lesson we started to look at modeling on the stand. This was the first time I have used this technique to construct a fitted garment. We looked at a close fitting bodice.
First I pinned the fabric down the center front making sure that it was on the straight grain.
Then I cut the neck line with 1cm seam allowance and notched it so that it lay flat.After that I inserted the shoulder dart making sure that the fabric lay flat and fitted to the bodice.
Then I cut the shoulder seam with 1 cm seam allowance.
After that I cut the arm hole with 1 cm seam allowance and notched it so that it fitted smoothly.
Next I had to pin the side down making sure that it lay along the straight grain and then cut the side seam with 1cm seam allowance.
When the side seam was done the next thing was to put i the waist dart. I had to make sure that the fabric lay flat making the bodice fitted.
Finally I had to cut the waist line with 1cm seam allowance.
Then its finished. I really enjoyed using this method and feel that it has given me another option when considering constructing garments.


No comments:
Post a Comment