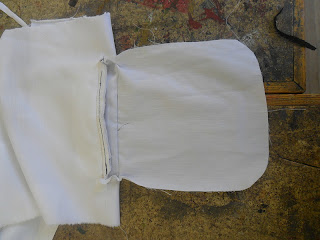
The second sample that we attempted was a slashed pocket with welt. I found this sample a lot harder than the previous ones and just one slip can cause a lot of problems ( as I found out).
Here is how I did it:
Iron on interfacing to one of the rectangles and the sew the two rectangles together (right side to right side) using 1.5cm seam allowance.
Reduce bulk making sure you cut diagonally across the corners.
Bag out and press.
Place the welt onto the large piece of fabric (right side to right side) making sure that the bottom edge lines up with the middle line.
Tack the welt in the middle of the 1cm gap.
Place the large pocket piece opposite the welt (lining it up with the middle line) and sew all the way around the rectangle. (try to catch the edge of the welt in with the stitch line).
Draw on a bone shape by drawing a line down the middle of the rectangle and creating triangles at the ends which reach to the corners.
Cut along these lines making sure that you don't go through the stitch line in the corners. (that was the mistake I made)
Push the pocket through the hole along with the triangle shaped corners so that they are on the wrong side.
Fold everything down so that the edge that the welt is attached to is the only thing sticking up.
Take the small pocket and attach it to the seam along the previous seam line.
Flip the two sides of the pocket up so they lye flat.
Place the two pocket pieces together and sew 1.5cm seam allowance.
Make sure you go up and past the start of the large fabric piece making sure you don't catch it in.
Sew down the side of the welt securing it to the large piece of fabric.
As you can see in the picture below this is what the front will look like if you cut through the stitch line.
Finished Pocket.


No comments:
Post a Comment