In my previous posts I have shown you the process that I have been through to create my Black Widow Coat toile. Well now I can finally show you the final stages and the finished toile.
After attaching the underneath side of the collar (previous post) I had to close up the front edges and attach the top layer of the collar to the underneath.
When closing this edge up on my final garment I will sandwich the zip in between the two layers.
I then turned the coat the correct way round and pressed all the new edges.
The final edge that I need to close is the neckline.
I pinned the collar to the the main coat making sure that the rough edges are tucked away.
I had a few problems with the corners but after a few attempts at pinning them I managed to get them right.
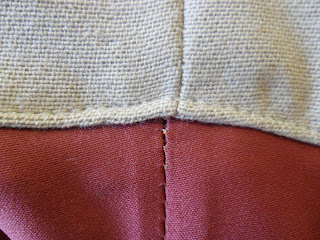
The top stitching created a really weird line on the underneath side of the collar.
But the top stitching on the inside looked really nice.
So I unpicked it and tried again with more success.
Another problem that I had was that some of the rough edge came out at one corner, this is something that I will watch out for on my final garment.
Here is my finished coat toile.


i really love watching your process, you are so thorough it inspires me :)
ReplyDelete