Showing posts with label Toile. Show all posts

Tuesday, 24 April 2012

Fixing My Orb Weaver Outfit

Previously I told you about my first major problem which I had with the Orb Waver Outfit here is how I fixed it...

I lowered the waistband.


I shaped the hem of the shirt.


 Here is my finished Orb Weaver Outfit.


One change I will be making for my final garment is to change the chains so that they match the ones I used on the skirt.


Finally I marked these changes on my patterns.


This is all my toile's done.  I am really pleased with them and I am looking forward to starting my final fabric.

Finishing my Orb Weaver Skirt.

You may remember awhile ago I told you about starting to toile my Orb Weaver skirt.

Well here it is finished (finally) after a lot of time, effort and one heart sinking moment (where it all got tangled).

I am really pleased with the result and feel that he chains have created a really nice effect.


Completing my Huntsman Dress Toile

Here are the final steps that I took to create my Huntsman dress.

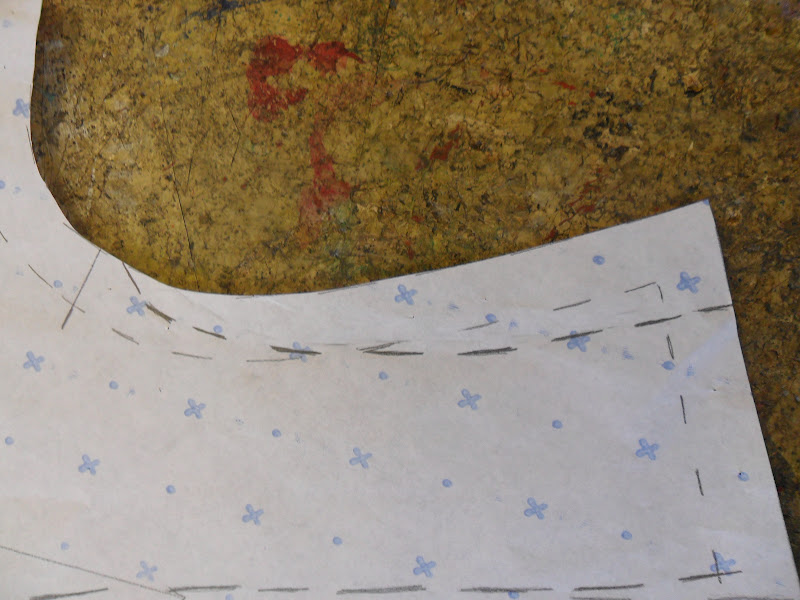
First I marked where I will be attaching the loops of ribbon that the chains will attach to.

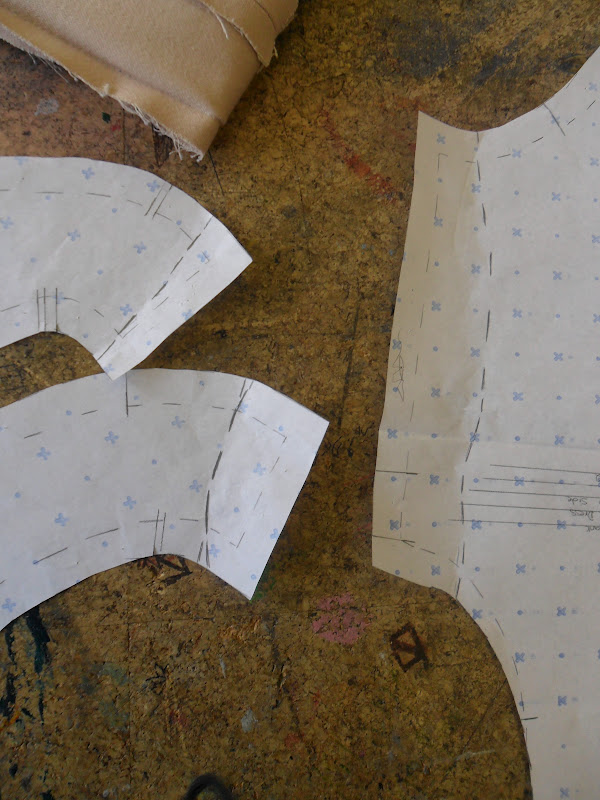
Then I constructed the lining.


I attached the loops of ribbon and attached the facing to the lining.


I then joined the lining at the side seams.


I then hemmed the lining, one thing that I will have to be careful of when doing this on my final garment is that the hem is rolled up exactly 1cm to stop the overhang above the stitching.


I then inserted the facing at the neckline.

Then the armholes.

One problem I had was that a small tuck appeared in the facing this is something I will need to be careful of when creating my final garment.

Even though there was no seam allowance along the centre back of the toile I inserted an invisible zip so that I could practice inserting it with a lining.

I inserted it like normal in the shell of the dress.

Then I attached the lining by attaching it down the centre of the zip tape.

One thing that I forgot on my toile that I will do on my final garment is a retainer row around the neckline.

I then hemmed the shell of the dress.


This is my dress with the lining inserted.

Next I attached the chains, one problem I had was that I attached the loops to the wrong side of the garment  so on my final toile the chains will be on the other side.

Here is my finished toile.


The lining finished about 1.5cm above the top of the rolled part of the hem so I extended my lining patterns by 1.5cm.


I am pleased with the finished toile and I think that the silhouette is very flattering and the lining creates a really nice finish.

Sunday, 22 April 2012

Huntsman Dress Toile - The Next Step

On Friday I continued with my Huntsman Dress Toile.

The first thing that I did was to cut down the arm hole to the new line and then trace this new line onto my patterns.


Another amendment that I made to my patterns was to add the seam allowance to the CB seam as I had made this cut on the fold where the zip needed to be.

I then changed to a size 12 mannequin as the fit of the dress was better at the bottom, I then fitted the side seam of the dress and traced this onto my patterns.


The new line was really nice and I am really pleased with the fit of the dress.


Next I decided that instead of just facing my dress I wanted to fully line it.  So I created my facing and lining patterns.


As I had decided that I wasn't including the side pieces I felt that the dress needed something to make it more interesting and to decorate it; so I decided to create a feature on the shoulder using chains.


After experimenting and building up the chains I was able to create an effect that I was happy with so I started to join them together using jump rings.


I am really pleased with this new feature and I think that it works better than the side inserts did.