
Yesterday I spent the day constructing my Orb Weaver Shirt toile.
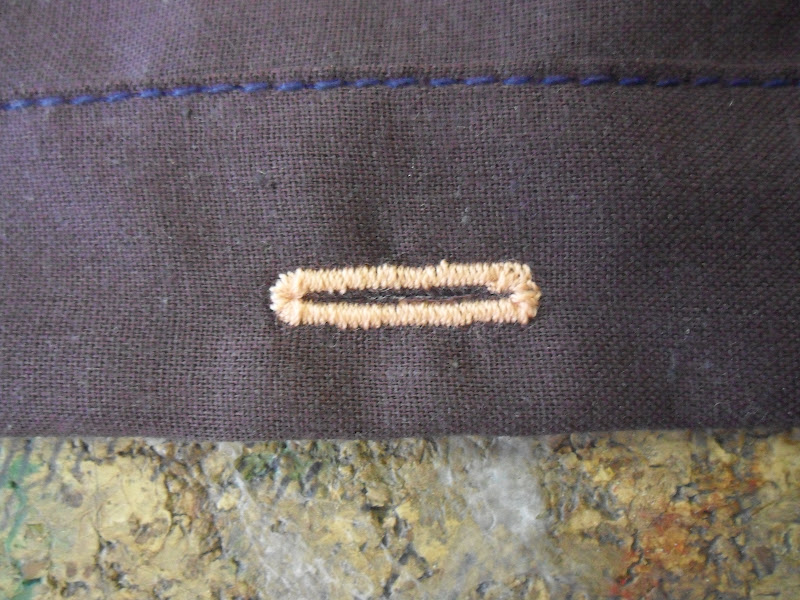
The first thing I did was to experiment with different button holes to decide on which I would like on mt final shirt. I decided upon the rounded button hole as I thought that it was the one that had the nicest effect.

I then started to put together the button stand on the front of the shirt. I realised that the interfacing was to large as I had added seam allowance that I didn't need to, to correct this I removed it from both the interfacing and the pattern.


I then constructed the button stand.


After that I decided where I wanted the button holes and market this on both my patterns and one half of the shirt front.

I then inserted the button holes.

And attached the buttons.


I then started to construct the back shoulder pieces.
As the fabric is slightly see through I needed sample different ways that I could finish the edge.
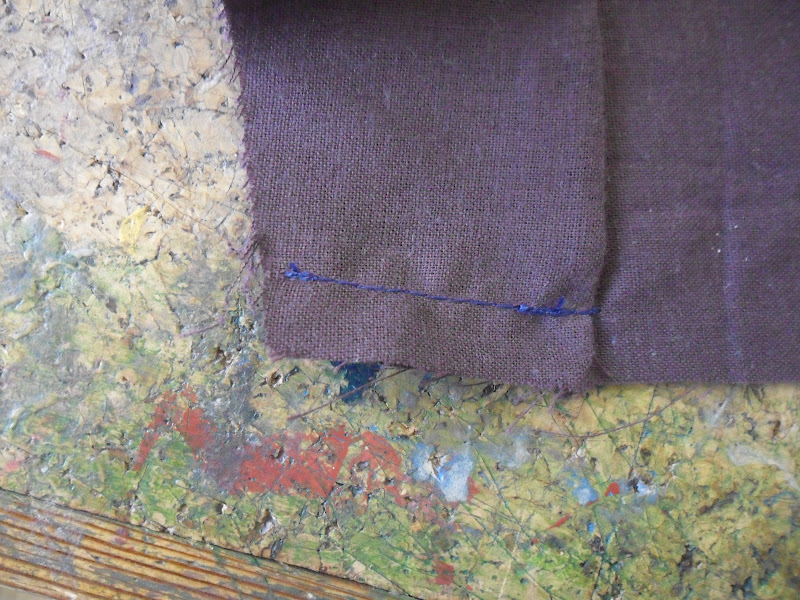
The first way was with a tiny seam allowance.
One problem I had was that I put he small loops of ribbon right along the edge so when I sewed my seam allowance they were trapped in the seam.


To correct this moved the loops in more.


I then constructed the other side using a french seam.


I then attached the front to the back pieces using a french seam.


I constructed the seams using a french seam.


I then tried to attach the sleeves using a french seam.
I found this hard as the fabric kept getting tucks in it.


