Showing posts with label Shirt. Show all posts

Thursday, 17 May 2012

Continuing with my Orb Weaver Shirt

Today I have been continuing with my Orb Weaver Shirt.  I am starting to get used to this fabric which is making it slightly easier to work with.

I started by inserting my button holes and attaching my buttons to the front of the shirt.


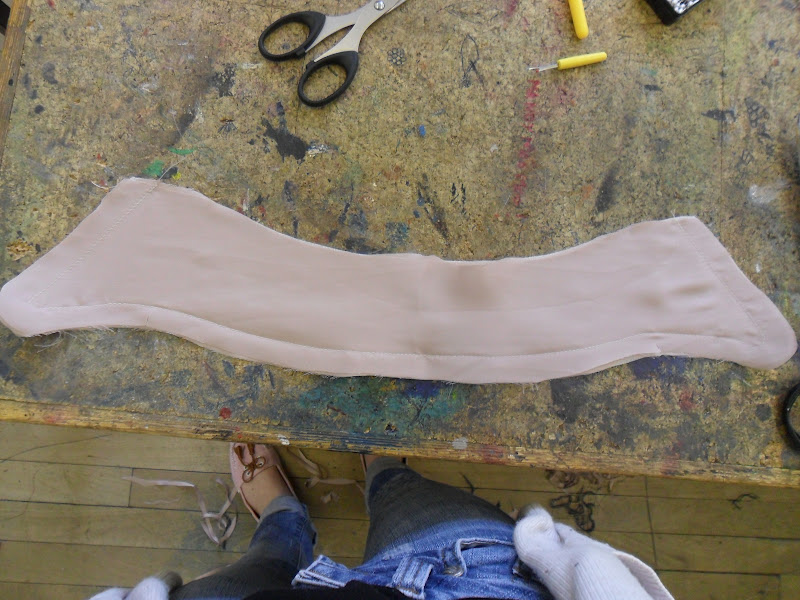
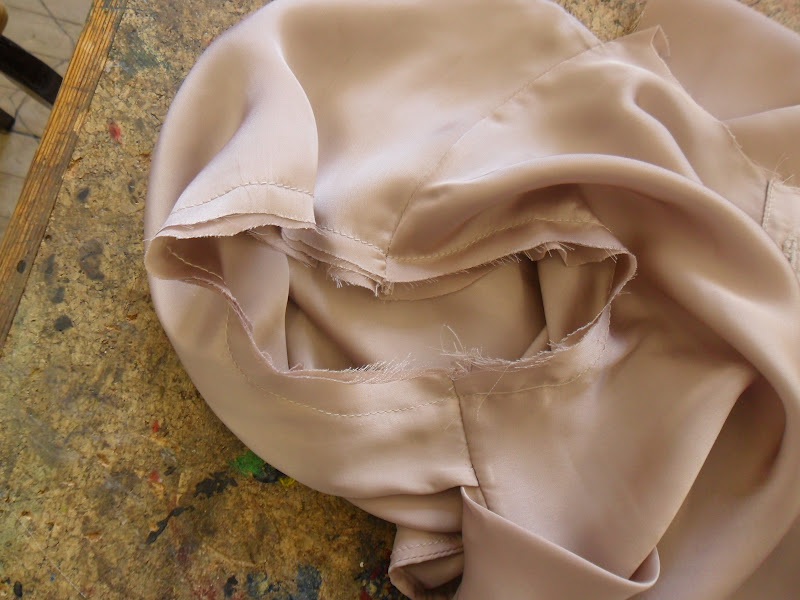
Then I inserted the french seams on the shoulder and side seams.


Then I closed my sleeves.


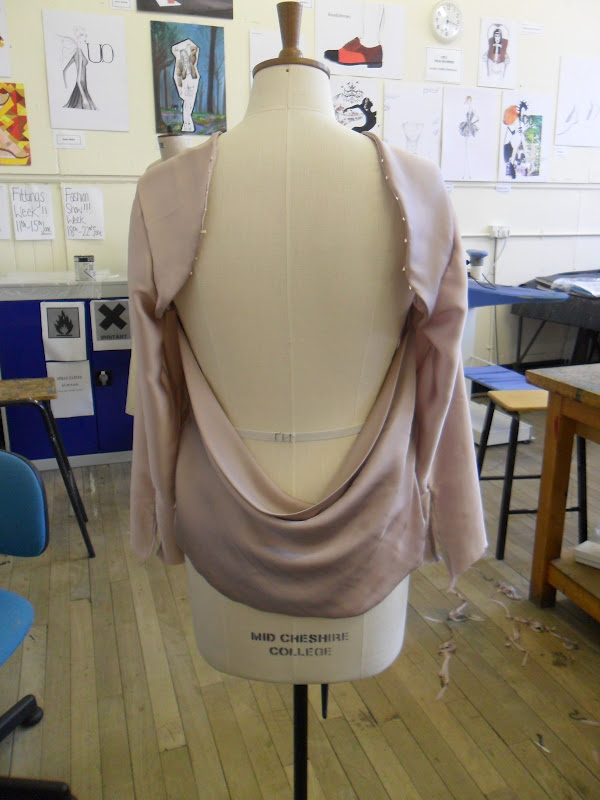
I then inserted my sleeves into the shirt which I was concerned about as this is one are that I had a few problems with when toiling but thankfully it went well and I was able to do this easier than in my toile.


I am pleased with the shirt so far and feel that the cowl has worked well in this fabric as it drapes better than the toiling fabric.


Finally I started to construct the collar which I will complete tomorrow hopefully.


Wednesday, 16 May 2012

Starting my Orb Weaver Shirt in Final Fabric

Today I started to manufacture my Orb Weaver Shirt.  I had already cut out my pattern pieces so I was able to just focus on constructing the garment.

First I used a domestic overlocker to finish the edge of the facing of the cowl as I creates a really nice rolled hem which I believe will be a good finish to the edge.


Then I started to construct the back shoulder pieces which I had a few problems with as the machine pulled parts of the fabric and I didn't quite get the seam allowance correct which meant that the loops for the chain weren't correct.


To correct this I swapped machines and I was more careful with my seam allowance.  This allowed me to get a neater and more accurate finish.


Then I constructed the back support which I had no problems with.


Next I realized that I would have to adapt the pattern for the front of my shirt as I am making a feature of the button stand so the wrong side of my fabric would be showing.  I adapted it by separating the button stand.


I then started to construct the front.  One problem I had was that I attached the button stand on the worng way but this was easily fixed by unpicking as starting again.


I am really pleased with the look of the button stands and I am glad that I decided to adapt my patterns instead of just removing the feature.

Finally I started to insert the bias binding along the vent of the sleeve.  I experienced a few problems as the underneath of binding didn't catch in with the stiching but I was able to fix this after a few attempts.


I am really pleased so far and hope that the rest of the manufacturing goes well.

Monday, 9 April 2012

Completing My Orb Weaver Shirt Toile

Last week I continued to toile my Orb Weaver shirt.  Here is the process:

I constructed and inserted my vent and cuff to both sleeves.

When bias binding my vent I noticed that the stitching was still visible which I would have to watch out for in my final garment.


One problem that I had was that the sleeve was slightly bigger than the cuff so I had two choices take the sleeve in at the seam or insert some pleats.

I decided to insert two pleats, one either side of the vent.


I decided to try the second cuff the other way round than the first and I prefer the second one with the two lines on the outside as I feel it has a better effect.


One change that I will make for my final garment is to make sure that the second pleat lies the other way so that everything is lying the same way.

I then hemmed the garment I turned it up by 0.5cm then 1cm but then I only stitched at 0.5cm which left a really ugly over hang.


I then re-did it by turning the hem up 0.5cm then 0.6cm and sewed at 0.5cm which had a much better effect.


The next step was to add the chains.  I didn't know whether to attach the vertical chains to the horizontal chains so I sampled them both.

I decided that I preferred them just attached to the fabric.

I then attached them using jumprings.


This is this toile completed.

What do you think?