
Over the course of our pattern cutting lessons, a couple of us have spent our time making a hoodie at lunchtime.


The first thing that we did was to unpick an already made hoodie into the separate pieces.
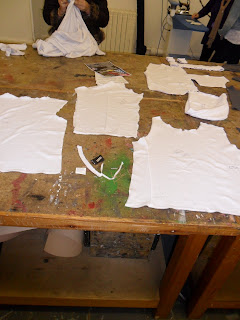
Then I traced off the patterns so that I could make my own and cut these pieces out of my chosen fabric.
After this I started to put it together step by step.
Firstly I made up the main body of the hoodie by overlocking the edges together; I started with the shoulder seams, then the the sleeve head into the armscye, and finally the side seams and down the length of the arms.
After this I overlocked the two halves of the hood shell together are repeated this with the lining.
Then I added a buttonhole to each side of the hood so that there was somewhere to thread the string through. This was a lot tougher than it sounds and took us two weeks to try and figure out how to work the machine, but was worth it in the end.
When the buttonholes were in I joined the lining to the shell of the hood on the overlocker and then added a row of top stitching to the hood so there was a channel for the string to be headed through.
I then attached the hood to the main body of the hoodie first using a row of stitching and then overlocking the edge.
Once it was attached I got the chance to thread the string through the channel; firstly I tried, unsuccessfully, to thread the string through by hand, then my tutor pointed out that it would be a lot easier to use a safety pin, and it was.
Next I added the cuffs to the bottom of the arms using ribbing. I found this quite hard as the ribbing frayed very easily and the combination of pulling and overlocking was quite difficult to get the hang of but once I started it got easier.
Finally for the cuffing at the bottom we decided to be creative and use the lining fabric. I think that the effect that this created was really nice and works better than normal ribbing would have.
This is the final product. There are a few errors that I would correct if I was to do this again but overall I am pleased with what I have created and feel that I have learned a lot for doing this.


No comments:
Post a Comment